Virtual environments
In Python, virtual environments are isolated environments that allow you to manage project-specific dependencies. This means you can install different versions of libraries for different projects without them conflicting with each other or your system-wide Python installation.
Create an environment
Create a project folder and a .venv folder within:
$ mkdir mycorgipro
$ cd mycorgipro
$ python3 -m venv .venv
Activate the environment
Before you work on your project, activate the corresponding environment:
$ . .venv/bin/activateThere are two main tools for creating virtual environments in Python:
- venv: This is the built-in module introduced in Python 3.3. It provides a simple way to create lightweight virtual environments.
- virtualenv: This is a third-party tool that offers more features and flexibility compared to venv. However, it requires separate installation using
pip install virtualenv.
Install Flask
Within the activated environment, use the following command to install Flask:
$ pip install FlaskFlask is a popular Python web framework known for its simplicity and flexibility. It provides a powerful and yet easy-to-use foundation for building web applications.
Here’s a breakdown of key concepts in Flask:
Microframework:
- Flask is classified as a microframework because it offers a lightweight core with minimal built-in functionalities.
- This allows for customization and flexibility in building web applications. You can choose additional libraries or extensions to add specific features like databases, authentication, or form validation.
Components:
- WSGI Application: Flask applications are WSGI (Web Server Gateway Interface) applications. WSGI is a standard for communication between web servers and web applications written in Python.
- Routing: Flask uses decorators (functions that modify other functions) to define routes that map URLs to specific functions in your application. These functions are called “views” and are responsible for handling requests and generating responses.
- Templating: Flask integrates with templating engines like Jinja2 to dynamically generate HTML content. You define templates with placeholders, and Flask fills them with data from your views to create customized web pages.
Development Server:
- Flask includes a built-in development server for testing and debugging your application during development. It’s not intended for production use.
Advantages:
- Simple and Easy to Learn: Flask has a clean and intuitive syntax, making it a good choice for beginners and experienced developers alike.
- Flexibility: You can customize your application by choosing the libraries and tools you need.
- Scalability: Flask can be used to build simple websites or complex web applications.
When to Use Flask:
- Small to Medium-sized Web Applications: Flask is ideal for projects where you don’t need a large framework with a lot of overhead.
- RESTful APIs: Flask is a popular choice for building RESTful APIs due to its lightweight nature and flexibility.
- Learning Web Development: Flask’s simplicity makes it a great framework to learn the fundamentals of web development with Python.
Getting Started with Flask:
Here’s a basic example of a Flask application that creates a simple “Hello, World!” web page. Create a new file name FlaskDemo.py:
from flask import Flask

app = Flask(__name__)

@app.route('/')
def hello_world():
    return 'Hello, World!'

if __name__ == '__main__':
    app.run(debug=True)
Explanation:
- We import
Flaskfrom the Flask library. - We create a Flask application instance named
app. - We define a route using the
@app.routedecorator. This maps the root URL (/) to thehello_worldfunction. - The
hello_worldfunction simply returns the string “Hello, World!”. - The
if __name__ == '__main__':block ensures the app runs only when executed directly (not imported as a module). It starts the Flask development server in debug mode.
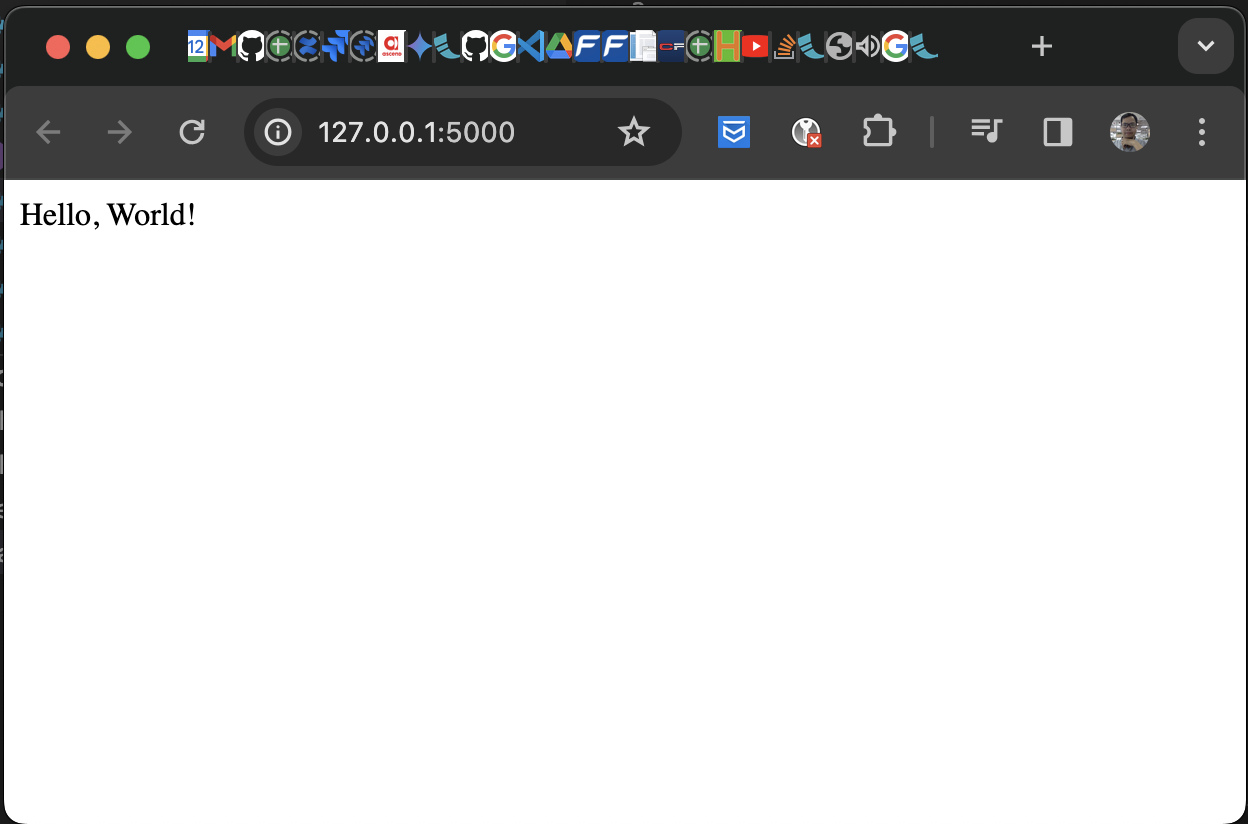
go to the mycorgipro folder and run
python3 FlaskDemo.py
go to a web browser (ex: chrome) type: http://127.0.0.1:5000
